Getting Started
To topThis article assumes you’ve just created a taxonomy.
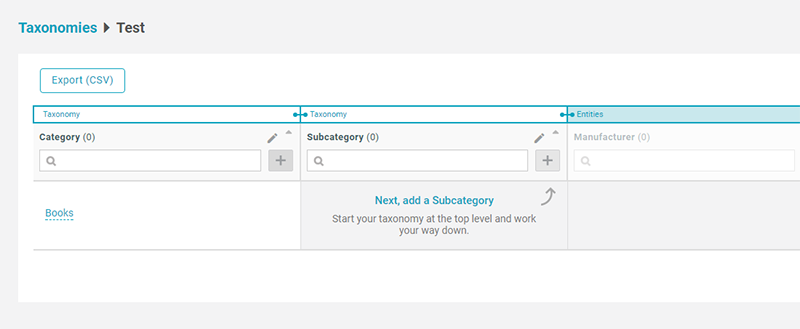
At the end of the taxonomy creation process, you are immediately allowed to start filling it. This process starts with the top of your taxonomy hierarchy and works its way down into entities.
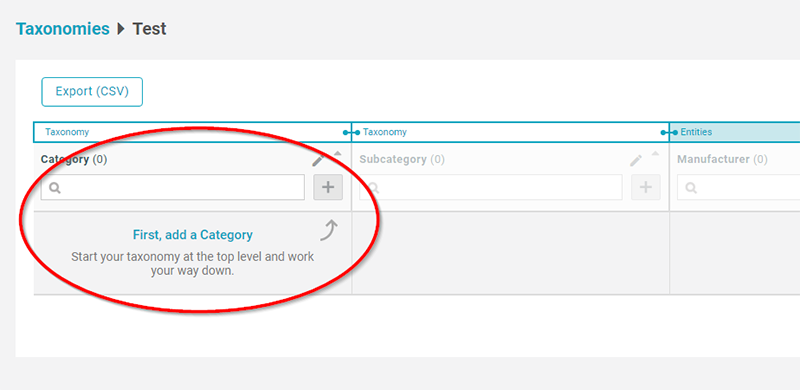
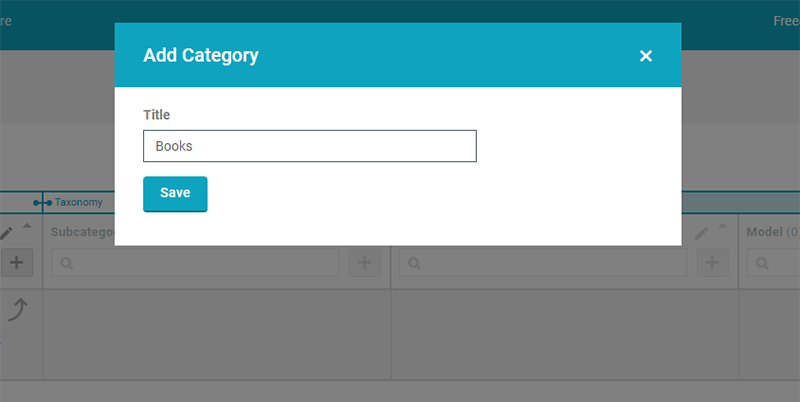
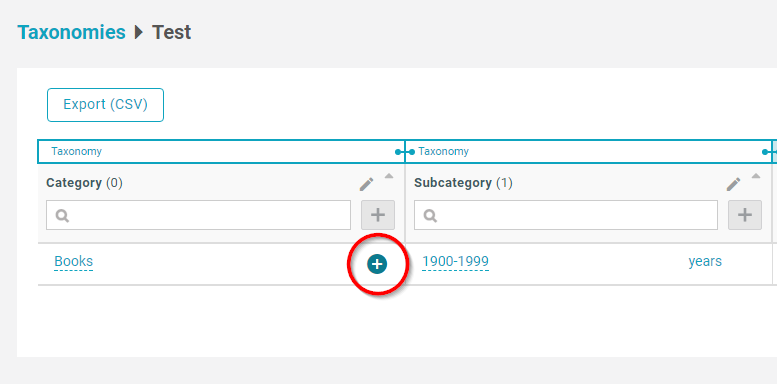
To begin adding to your taxonomy, click on the “+” sign as noted above. You’ll see a popup, where you can type in what you’d like.
Until you create at least one instance for each of your taxonomy levels and entities, you’ll be walked through the filling process.
Adding Lower Levels
To topOnce you have at least once instance filled, when adding new taxonomy levels, you will be prompted to identify which level you’d like to add to. This is the hierarchical nature of taxonomies being displayed.
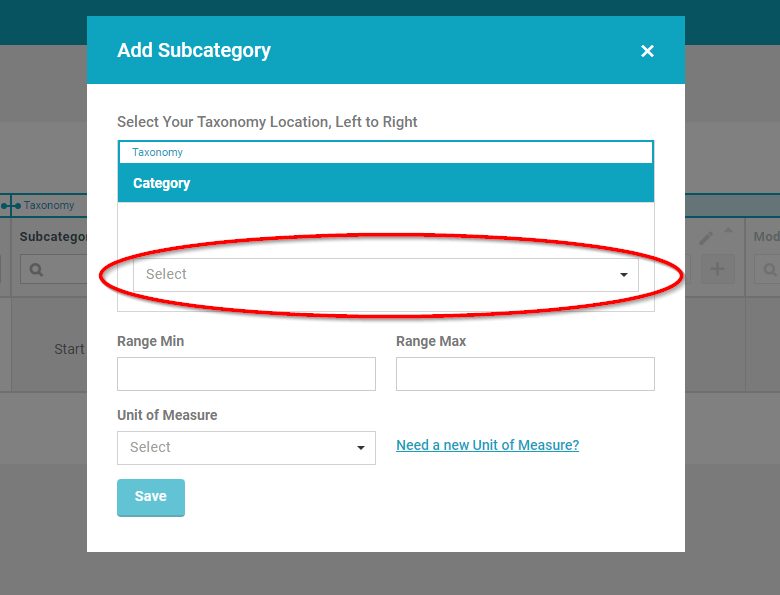
Note, in the above image you see “Range Min”, “Range Max” and “Unit of Measure” as input options in this example. That is because this is a “Range” type taxonomy level. As a reminder, the range type is ideal for situations where you have numeric ranges in your taxonomy level, e.g. “50” to “100” inches.
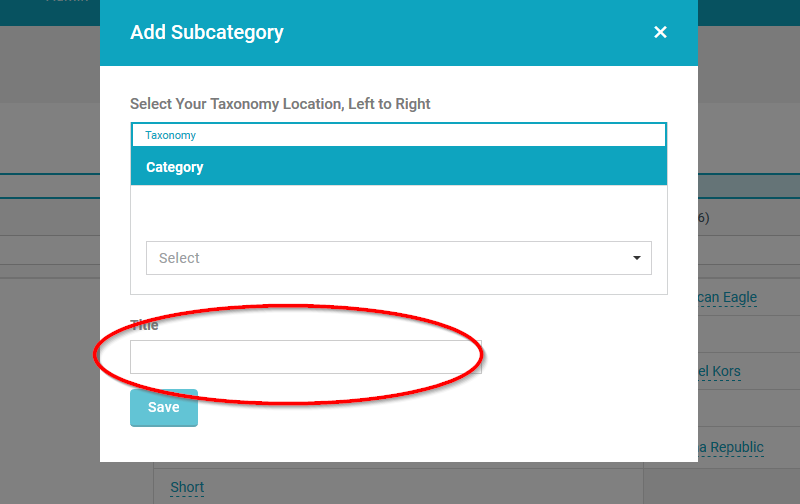
Below is what it looks like to add to a “Normal” type taxonomy level.
Quick Add
To topOnce you are comfortable with filling in your taxonomy, there’s a second “quick” addition option. Hover over a cell and you’ll see a blue “+” sign. Click on this and the taxonomy level is autofilled, thereby saving you significant time.
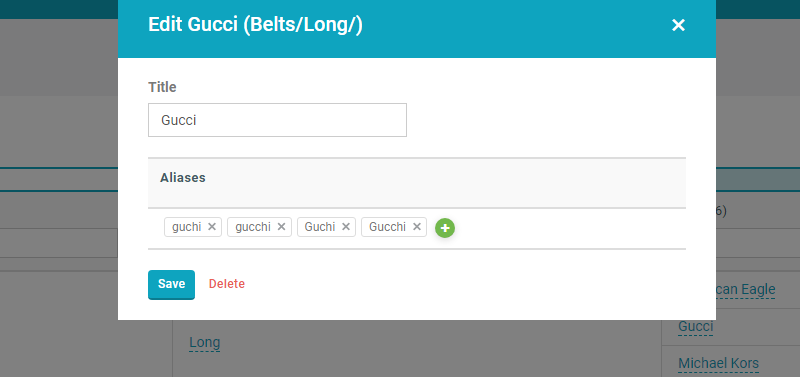
Aliases
To topWhen adding entities, make sure you also are adding aliases. To add an alias, first add an entity, then click on the entity for which you’d like to add an alias. Aliases are required if you will be using your account for data cleaning.